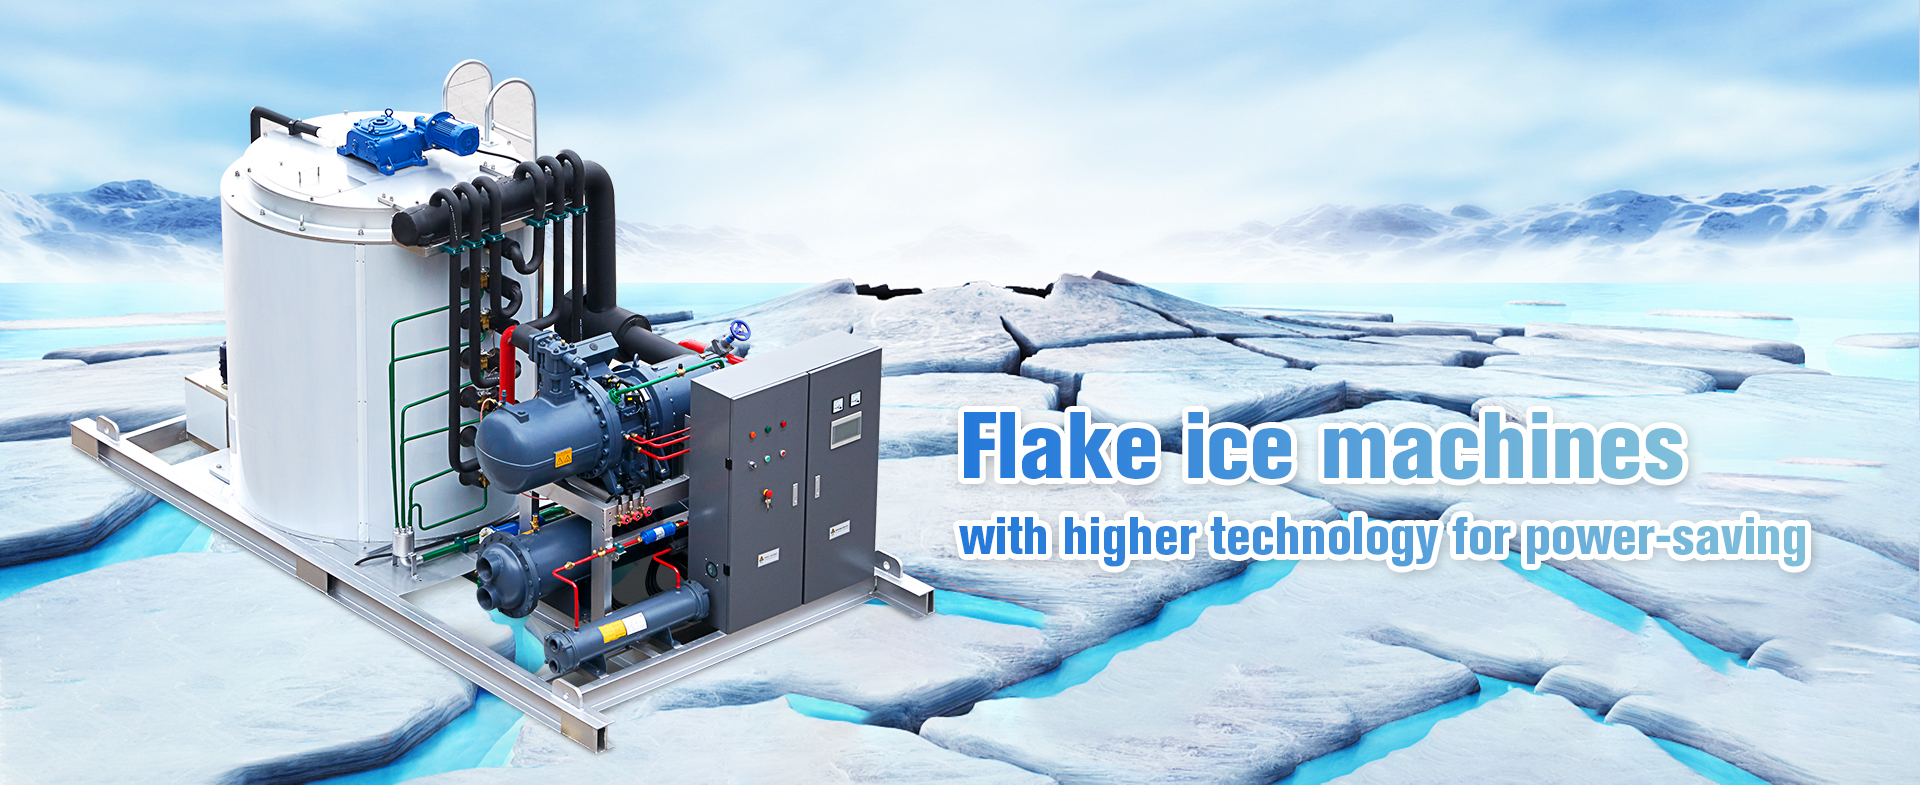
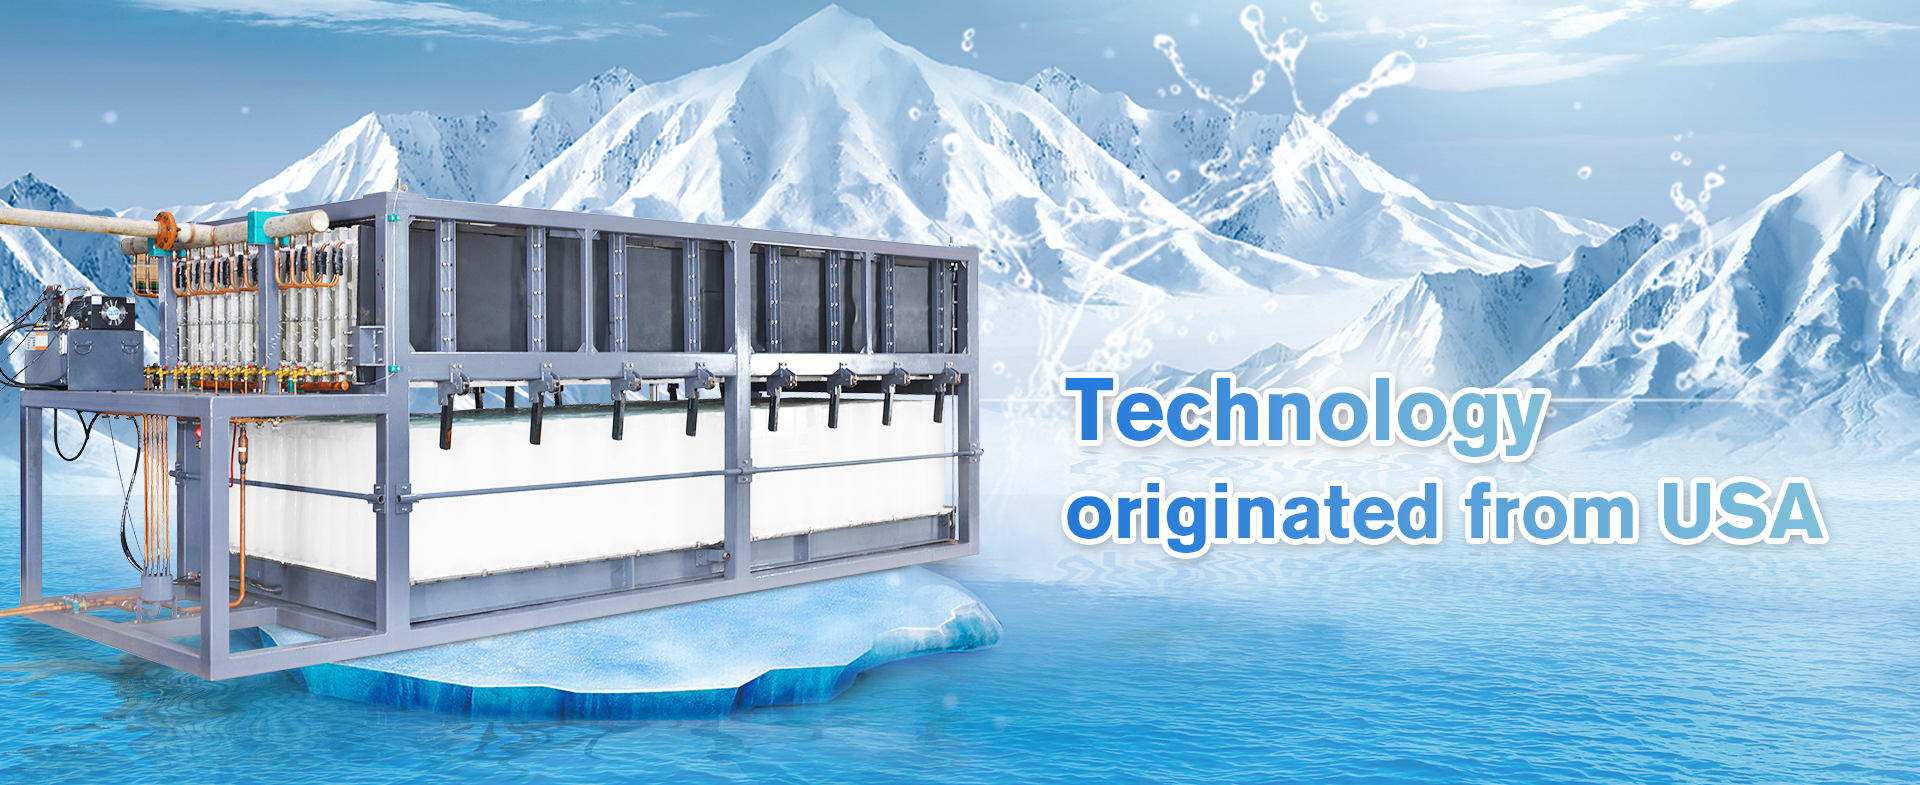

Picking a flake ice maker isn't really about how shiny the panels look. It's about whether the ice actually fits the way you operate. A seafood counter usually wants soft, moldable flakes. A hospital or beverage plant? They'll care more about hygiene, consistency, and steady output. Get the wrong machine and you might end up with wet floors, uneven cooling, or a utility bill that makes you wince.
Industry reports can help point you in the right direction, sure. But they don't all draw the same lines. Grand View Research and Fortune Business Insights both talk about steady growth in commercial ice equipment, driven by foodservice, healthcare, retail, and seafood. Their forecasts aren't identical, though. And that matters. Market numbers should inform a purchase, not take the place of walking the site. You still need to check water hardness, ambient temperature, drainage, electrical capacity, and how much ice you actually need each day.
As Dr. Robert W. Powitz, a well-known food-safety and sanitation expert, puts it: “Ice is food.” That one line changes things. A flake ice maker review should look at cleanability, protected water paths, materials, and documented sanitation procedures. NSF certification, ENERGY STAR performance, and manufacturer service records can all boost confidence. But certification alone won't guarantee a trouble-free install.
Take a close look at the flakes themselves.
The ten tips below cover production capacity, ice texture, energy and water use, condenser design, noise, storage compatibility, controls, maintenance access, warranty coverage, and local tech support. Some of these may sound obvious. They're also easy to skip when you're rushing a purchase. One bad assumption can turn into an expensive problem every single day.
10 Tips for Choosing the Best Flake Ice Makers
Flake ice is thin, soft, and easy to spread across products. Its typical thickness ranges from 1.5 to 2.5 mm. The usual temperature falls between −5 and −7°C. This combination helps cool seafood, produce, and prepared foods quickly. It also reduces pressure on delicate surfaces. Still, measurements can vary slightly between machines and operating conditions. That detail matters.
Tip 1: Check the stated flake thickness, not only the daily ice output. Thicker pieces may cool differently and pack less evenly. Tip 2: Confirm the operating temperature with a calibrated thermometer. Display readings are useful, but they are not always precise. Tip 3: Examine the ice texture after several production cycles. It should look loose, dry, and consistent.
A reliable machine should maintain stable ice quality during warm-room operation. Inspect the condenser, water system, and insulation before purchasing. Easy access to these parts can reduce cleaning time. Tip 4: Ask for production data at your actual ambient temperature. Laboratory figures may not match a busy kitchen or processing room. Tip 5: Observe the storage bin design. Poor drainage can create wet clumps and unwanted refreezing.
Noise and energy use also deserve attention. A quiet unit may suit open food areas better. However, low noise should not hide weak cooling performance. Tip 6: Review temperature recovery after the bin opens frequently. Tip 7: Request service records or test results when possible. I would also leave room for uncertainty. Even well-designed equipment needs correct water quality, ventilation, and regular cleaning.
Flake ice is typically defined by thin ice pieces about 1.5–2.5 mm thick with a product temperature of approximately −5 to −7°C. Use the chart below to verify that a machine’s stated output matches this operating profile.
The chart uses separate axes because thickness is measured in millimeters, while ice temperature is measured in degrees Celsius. The lower and upper points represent the stated flake-ice specification range.
When choosing a flake ice maker, start with actual daily demand, not the machine’s attractive display number. The 24-hour production rating shows how much ice the unit can make under stated test conditions. Those conditions may include a specific water temperature and room temperature. Your kitchen may be warmer. Record ice use for seven busy days. Include seafood displays, drink service, food preparation, and ice lost during transfers. This simple log is more reliable than guessing from a quiet weekday.
If your operation needs 900 pounds daily, a 900-pound machine is usually too close to the limit. Choose practical capacity above average demand, often 20 to 30 percent when supply must remain steady. That reserve helps during hot afternoons, delivery delays, or unexpected catering orders. However, more capacity is not automatically better. An oversized unit can cost more to purchase, power, clean, and maintain. It may also cycle less efficiently when demand stays low.
Check whether the rating is based on continuous production or a specific operating schedule. Ask for water and ambient temperature assumptions, then compare them with your site measurements. Check the bin. A machine may produce enough ice but hold too little for the lunch rush. Flake ice melts faster than many cube types, so storage losses deserve a realistic allowance. I would leave room for growth, but not blindly. A 10 percent buffer might fail in summer, while 50 percent may waste money year-round. Review the numbers with an installer or service technician who understands your water quality and ventilation. Their advice can expose a weak assumption before installation.
When choosing among the best flake ice makers, compare energy in kWh per ton, not motor size alone. A practical conversion is simple: multiply the reported kWh per 100 pounds by 20. For example, 5.2 kWh per 100 pounds equals 104 kWh per short ton. ENERGY STAR commercial ice-machine data commonly places efficient flake equipment near 4.5–6.0 kWh per 100 pounds, or roughly 90–120 kWh per ton. Lower is better, but only under comparable test conditions.
Check the rating method carefully. AHRI Standard 810 defines performance conditions for automatic ice makers, while U.S. Department of Energy procedures measure energy and water consumption under controlled loads. Field results can differ. Warm condenser air, poor ventilation, hard water, and frequent door opening may increase consumption. A clean spreadsheet can still mislead. Ask suppliers for tested kWh values, ice capacity, water use, and operating temperature. Then calculate annual energy using your actual production, not the maximum advertised output.
Flake ice quality matters too. Smaller, wetter flakes may require different refrigeration settings. I would test a machine for several production cycles before approving it. Record meter readings, ambient temperature, and harvest time. That extra day often exposes optimistic assumptions. Also compare standby consumption. It is easy to overlook. A unit saving 15 kWh per ton may justify a higher purchase price, but only when it operates near its rated load.
Choosing the best flake ice maker starts with water, not production speed. I once treated clear water as clean water. That was a costly assumption. The WHO Guidelines for Drinking-water Quality state that E. coli should not be detectable in a 100 ml drinking-water sample. For ice production, test hardness, chlorine, sediment, and microbial indicators before selecting equipment.
Tip: Request a recent laboratory water report. Compare it with the maker’s filtration requirements. The U.S. FDA Food Code 2022 requires ice used for food and drinks to come from potable water. A sediment filter can protect valves, while carbon filtration can reduce chlorine taste. Hard water still needs attention. Scale may form inside water distributors and reduce freezing performance.
Tip: Verify the real water-to-ice ratio. AHRI Standard 810 evaluates commercial ice makers using water consumption per 100 pounds of ice. A near 1:1 ratio by mass means roughly one kilogram of water becomes one kilogram of ice, excluding purge water and melt loss. Measure it on site: record incoming water, collect finished ice, and compare both weights. Small errors matter. If the machine uses 120 liters to make 100 kilograms of ice, filtration alone will not fix the inefficiency. Check purge settings, room temperature, condenser cleanliness, and drain losses. The “1:1” target is useful, but it is not magic.
When choosing a flake ice maker, inspect the storage bin before admiring its output rate. A large bin is useful, but poor insulation can turn fresh flakes into wet clumps. Look for smooth, sealed surfaces and rounded corners. They reduce residue and simplify daily cleaning. The FDA Food Code 2022 requires ice for consumption to come from potable water and remain protected from contamination. That rule sounds basic. It is often overlooked.
The dispenser deserves equal attention. Test whether a gloved hand can operate it without touching the ice chute. A narrow chute may slow service, while a wide opening can expose more internal surfaces. CDC estimates that about 48 million people in the United States experience foodborne illness each year. This figure makes small hygiene details less small. Choose components certified for food equipment, such as materials aligned with NSF/ANSI 12 requirements for automatic ice-making equipment.
Stainless steel is practical, but “stainless” alone proves little. Ask for material specifications, weld quality, gasket details, and cleaning instructions. Some bins look commercial yet retain water around hinges or drain points. I have found that easy access usually matters more than impressive capacity. Still, my checklist is imperfect. Staff habits, cleaning frequency, and local water quality can defeat a well-designed machine. Review those conditions before purchasing, not after the first service problem appears.
Assess the cooling system before comparing advertised ice output. Air-cooled models reject heat into the room, raising kitchen temperatures. Water-cooled systems may perform better in hot spaces, but they consume more water. The ASHRAE Handbook—Refrigeration (2022) explains that condenser performance changes with entering-air temperature and airflow. That detail is easy to overlook. DOE commercial ice-maker test conditions commonly use 90°F ambient air and 70°F entering water. A real kitchen can be hotter, especially beside ovens or cooking lines. Expect lower production there.
Check the room, not only the machine. The IEA’s The Future of Cooling report projects global space-cooling energy demand could more than triple by 2050. This highlights a growing heat-management problem. Leave the specified clearance around air intakes, exhausts, and service panels. Measure door swings, drain height, water-line routing, outlet capacity, and floor loading before delivery. A crowded corner can reduce airflow and delay maintenance. I once underestimated service access; the machine fit, but cleaning it was awkward.
Water quality deserves equal attention. Hard water can leave scale on evaporators, reducing heat transfer and shortening cleaning intervals. Review local hardness data, then size filtration accordingly. Avoid placing the unit in direct sunlight or near steam. Confirm whether condensate and meltwater can drain without backflow. Small installation errors often become daily operating costs. Choose capacity with a realistic safety margin, not a perfect laboratory number.
When comparing flake ice makers, sanitation should come before production speed or cabinet size. In a working kitchen, moisture can collect beneath the bin liner and around drain fittings. Ask to inspect food-contact surfaces, water paths, seals, and the ice discharge area. Smooth, accessible surfaces are easier to clean than narrow channels. Request cleaning intervals, approved cleaning agents, and written sanitation procedures. Do not trust product photographs alone. They prove very little.
Maintenance access matters during a busy shift. Removable panels should expose the condenser, water inlet, pump, and sensors without major disassembly. Look for clear service space and labeled components. Ask whether routine tasks require special tools. That detail can affect downtime. Request a demonstration of draining and descaling. Watching the process may reveal awkward valves or splash-prone connections. My first inspection might miss a rear clearance problem, so I would photograph the installation area and review it with the installer.
Warranty terms need careful reading. Verify coverage length, labor conditions, exclusions, and the process for reporting failures. A long warranty means little if replacement parts are difficult to obtain. Ask how quickly qualified technicians usually respond and whether support is available outside normal business hours. Request service references from similar food-service environments. Keep installation records, cleaning logs, and repair notes. These details can support warranty claims and help technicians diagnose recurring problems. Be cautious when support promises sound impressive but remain unwritten.
Air-cooled units release heat into the room. This can raise kitchen temperatures. Water-cooled units may suit hotter spaces, but they use more water. Output usually falls near ovens or cooking lines.
Measure ambient temperature, airflow, door swings, and service clearances. Keep air intakes and exhausts unobstructed. A crowded corner can reduce cooling performance. I might overlook a small clearance problem.
Follow the specified clearance around vents, panels, and connections. Leave enough room for cleaning and repairs. Measure the rear area carefully. Tight spaces make simple tasks awkward.
Hard water can create scale on the evaporator. Scale reduces heat transfer and shortens cleaning intervals. Review local hardness data before choosing filtration. Small deposits become daily costs.
Confirm meltwater and condensate can drain freely. Check drain height, pipe routing, and backflow risks. Poor drainage can leave water beneath the bin liner. That area is easy to miss.
Choose smooth, accessible food-contact surfaces. Inspect water paths, seals, and the ice discharge area. Narrow channels are harder to clean. Do not trust photographs alone.
Removable panels should expose the condenser, pump, inlet, and sensors. Routine work should not require major disassembly. Ask for a draining and descaling demonstration. Watch the awkward parts.
Review coverage length, labor conditions, exclusions, and failure-reporting steps. Ask about parts availability and technician response times. Keep installation records, cleaning logs, and repair notes. Written promises matter more than impressive wording.
Choosing the right Flake Ice Makers begins with understanding the ice they produce: thin flakes approximately 1.5–2.5 mm thick and typically maintained at −5 to −7°C. Select a machine whose 24-hour production capacity matches your daily demand, while comparing efficiency by the amount of energy used per ton of ice. Water quality is equally important, so consider filtration needs and a reliable 1:1 water-to-ice ratio for consistent output.
Also evaluate storage-bin capacity, dispensing options, and food-safe construction materials. Make sure the cooling system suits the expected ambient conditions and that the installation area provides enough space for ventilation, operation, and maintenance. Finally, review sanitation features, cleaning access, warranty coverage, and available service support. A well-matched machine should deliver dependable ice, manageable operating costs, safe handling, and practical long-term performance.